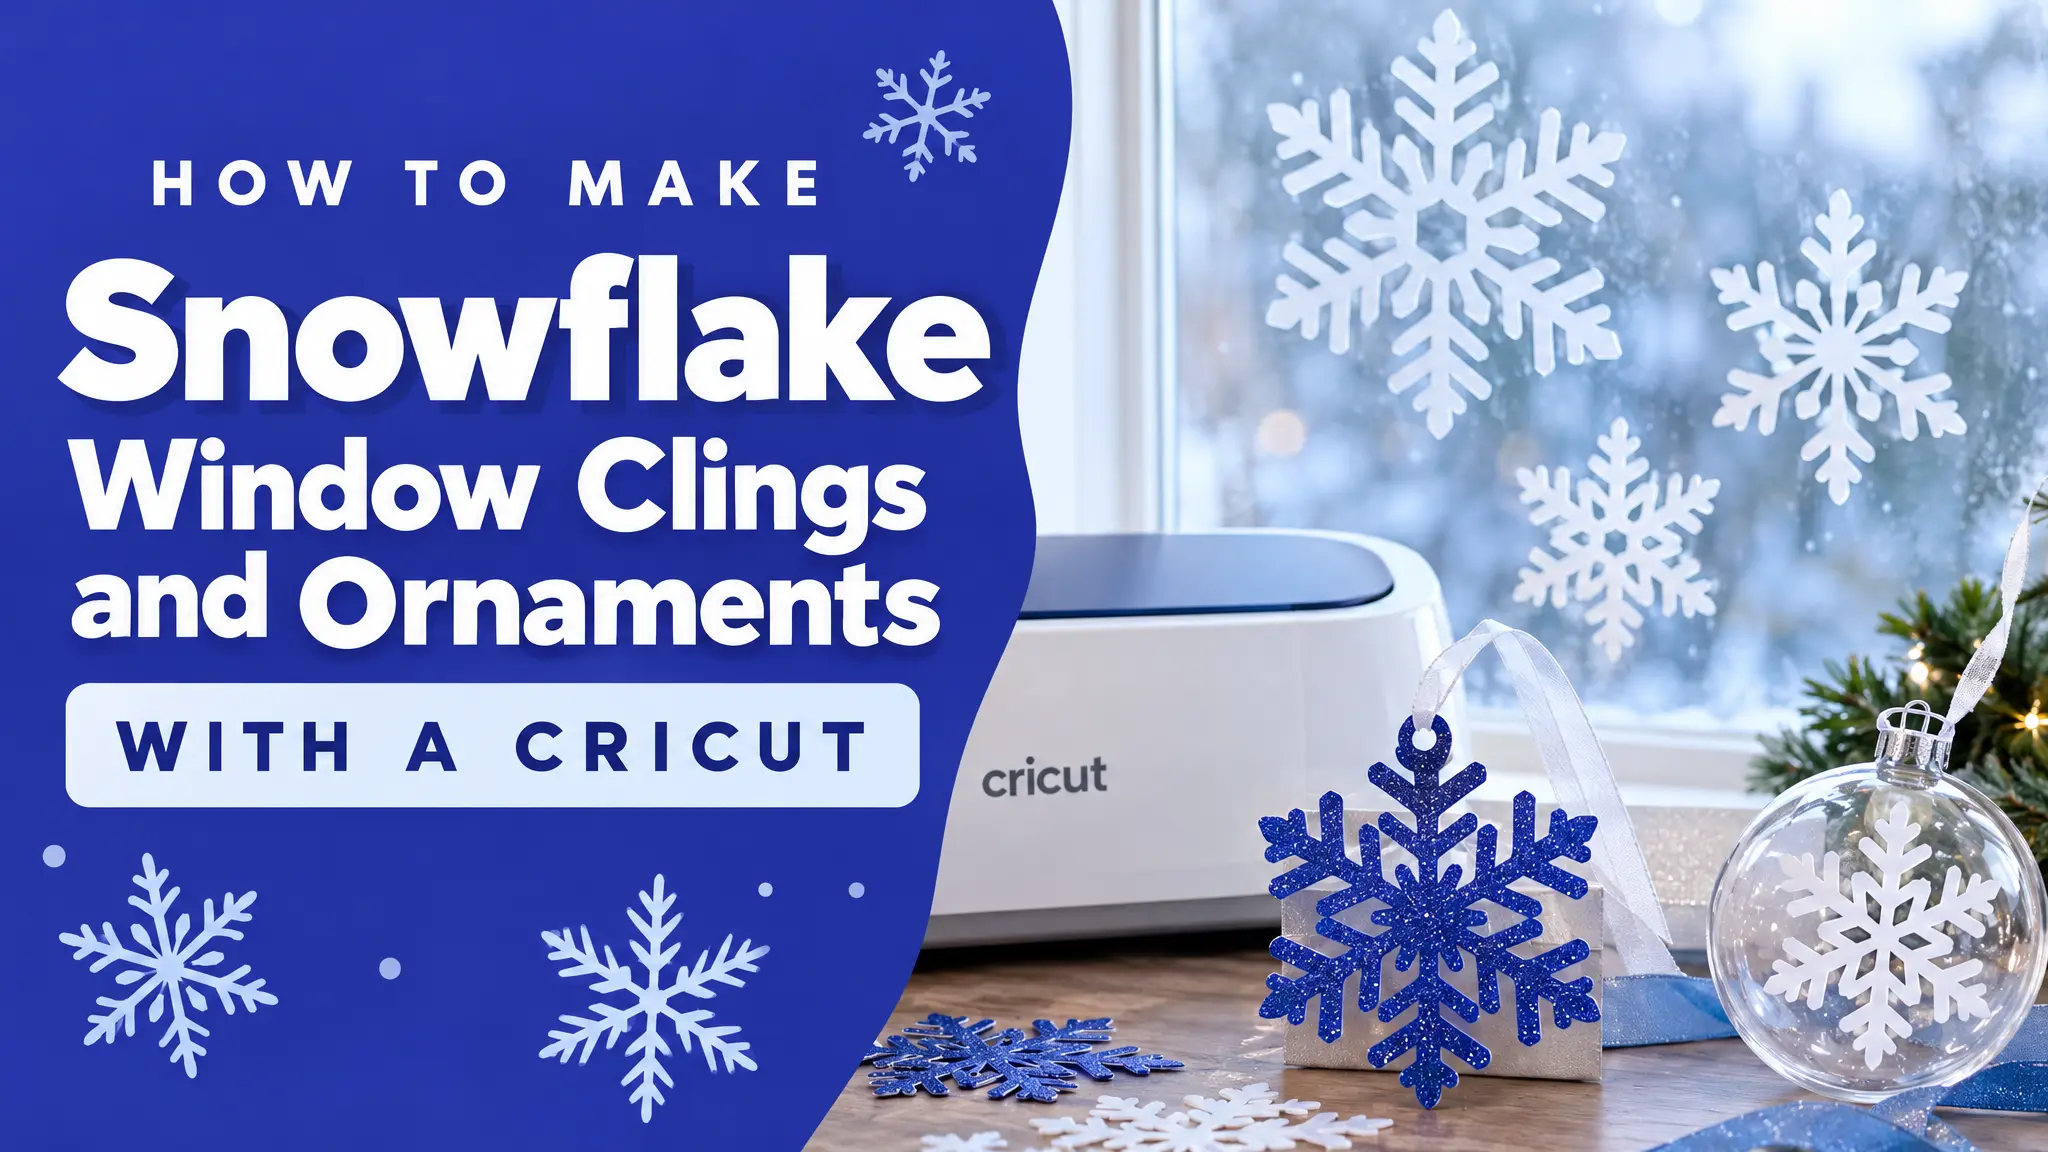
Snowflakes are the perfect winter project. They look impressive, they suit every style from Scandi to classic Christmas, and they’re easy to cut. With a snowflake SVG Cricut project, you can make window clings, vinyl decals, paper ornaments and gift toppers in an afternoon.
This guide covers three projects, from easiest to slightly more advanced, with the materials and settings you’ll need. We’ll use designs from Snowflakes Set 01 and Snowflakes Set 02.
Why snowflakes are great for cutting machines
- Symmetrical designs cut cleanly. A good snowflake SVG has closed, even shapes that the blade follows easily.
- One design, many materials. The same file works on vinyl, cling film, card stock and felt.
- Beginner-friendly weeding. Most snowflakes have fewer tiny pieces than lettering.
Important: cutting machines need a vector file, not a PNG. If you’re wondering why, our SVG vs PNG guide explains it quickly.
Picking the right snowflake for your project
Snowflake designs vary a lot. Match the design to the material:
- Bold, chunky snowflakes: best for window clings and first projects. Easy to weed and they don’t tear.
- Delicate, lacy snowflakes: best for card stock ornaments and larger decals (15 cm or more).
- Very fine details: save these for printing, not cutting, or scale them up a lot.
A rule of thumb: if any line in the design would be thinner than about 1 mm at your final size, it will likely tear or not weed cleanly.
Project 1: Static window clings (easiest)
Window clings stick with static, not glue, so they come off cleanly and can be reused every year.
You need: printable or plain static cling sheets (cuttable cling vinyl), a Cricut with a standard grip mat, a weeding tool.
- Upload the SVG to Cricut Design Space (Upload → Browse → select file). If this is new to you, follow our step-by-step Cricut Design Space guide.
- Size it: 10–20 cm works well on most windows.
- Duplicate the snowflake to fill your mat and save material.
- Choose the material setting. Search for “Window Cling” in Design Space. If your cling isn’t listed, start with a vinyl setting and do a small test cut.
- Cut, weed out the background, and press the snowflakes onto a clean window.
Tip: Clean the glass with glass cleaner first and let it dry. Clings stick much better to a grease-free surface.
Project 2: Vinyl snowflake decals
Permanent or removable vinyl works on mirrors, glass doors, mugs, gift boxes and ornaments.
You need: removable vinyl (for walls and windows) or permanent vinyl (for mugs and glass that will be washed), transfer tape, a scraper.
- Upload and size the snowflake.
- Place the vinyl color side up on a standard grip mat.
- Select the right vinyl setting and cut.
- Weed away the excess vinyl, leaving the snowflake on the backing.
- Apply transfer tape, burnish with the scraper, peel the backing off and apply the decal to the surface.
Want a two-color snowflake? Layer a white snowflake on top of a slightly larger silver or light blue one. Our guide on layering SVG files for multi-color vinyl shows the whole process.
Project 3: Card stock snowflake ornaments
Paper snowflakes make lovely tree ornaments, garlands and gift toppers.
You need: card stock (glitter card or 65–80 lb / 170–220 gsm plain), a light grip or standard mat, thread or thin ribbon, a needle or small hole punch.
- Upload the snowflake and size it to 7–12 cm for ornaments.
- Place the card stock on the mat and choose the matching card stock or glitter card setting.
- After cutting, peel the mat away from the paper, not the paper from the mat. It keeps delicate points from bending.
- Punch a small hole near one tip and thread ribbon through.
3D snowflake idea: cut two identical snowflakes. Cut a slit from the top of one to the center and from the bottom of the other to the center. Slide them together to make a standing 3D snowflake.
Troubleshooting common snowflake cuts
- Delicate points tearing? Use a fresh blade, a less sticky mat, or scale the design up.
- Cut not going through? Increase the pressure or cut twice with the “More” setting.
- Design cutting as one block? Check that the SVG isn’t flattened or “Print Then Cut” by mistake.
For more fixes, see SVG Won’t Cut Right? 7 Cricut & Silhouette Fixes.
More winter projects with the same files
- A snowflake garland threaded on twine across a mantel
- Gift tags with a snowflake and the recipient’s name
- Stencils for frosting cookies with powdered sugar (use food-safe stencil material)
- Holiday cards with a cut-out snowflake window
Pair snowflakes with designs from Cozy Christmas 01 or Christmas Essentials 01 for a full winter set.
FAQ: snowflake SVG Cricut projects
Can I use a PNG snowflake with my Cricut? You can, but Design Space has to trace it, and fine details often get lost. An SVG cuts cleanly because the lines are already defined.
Does this work with Silhouette machines too? Yes. Silhouette Studio Designer Edition and higher import SVG files. The steps are almost the same.
Can I sell the ornaments or decals I make? Selling finished physical items is covered under our Pro commercial license. You can’t resell or share the SVG files themselves. See the Terms of Use.
Let it snow
One snowflake file can decorate your windows, tree and gifts all season. Browse Snowflakes Set 01 and Set 02, pick your favorites and get your