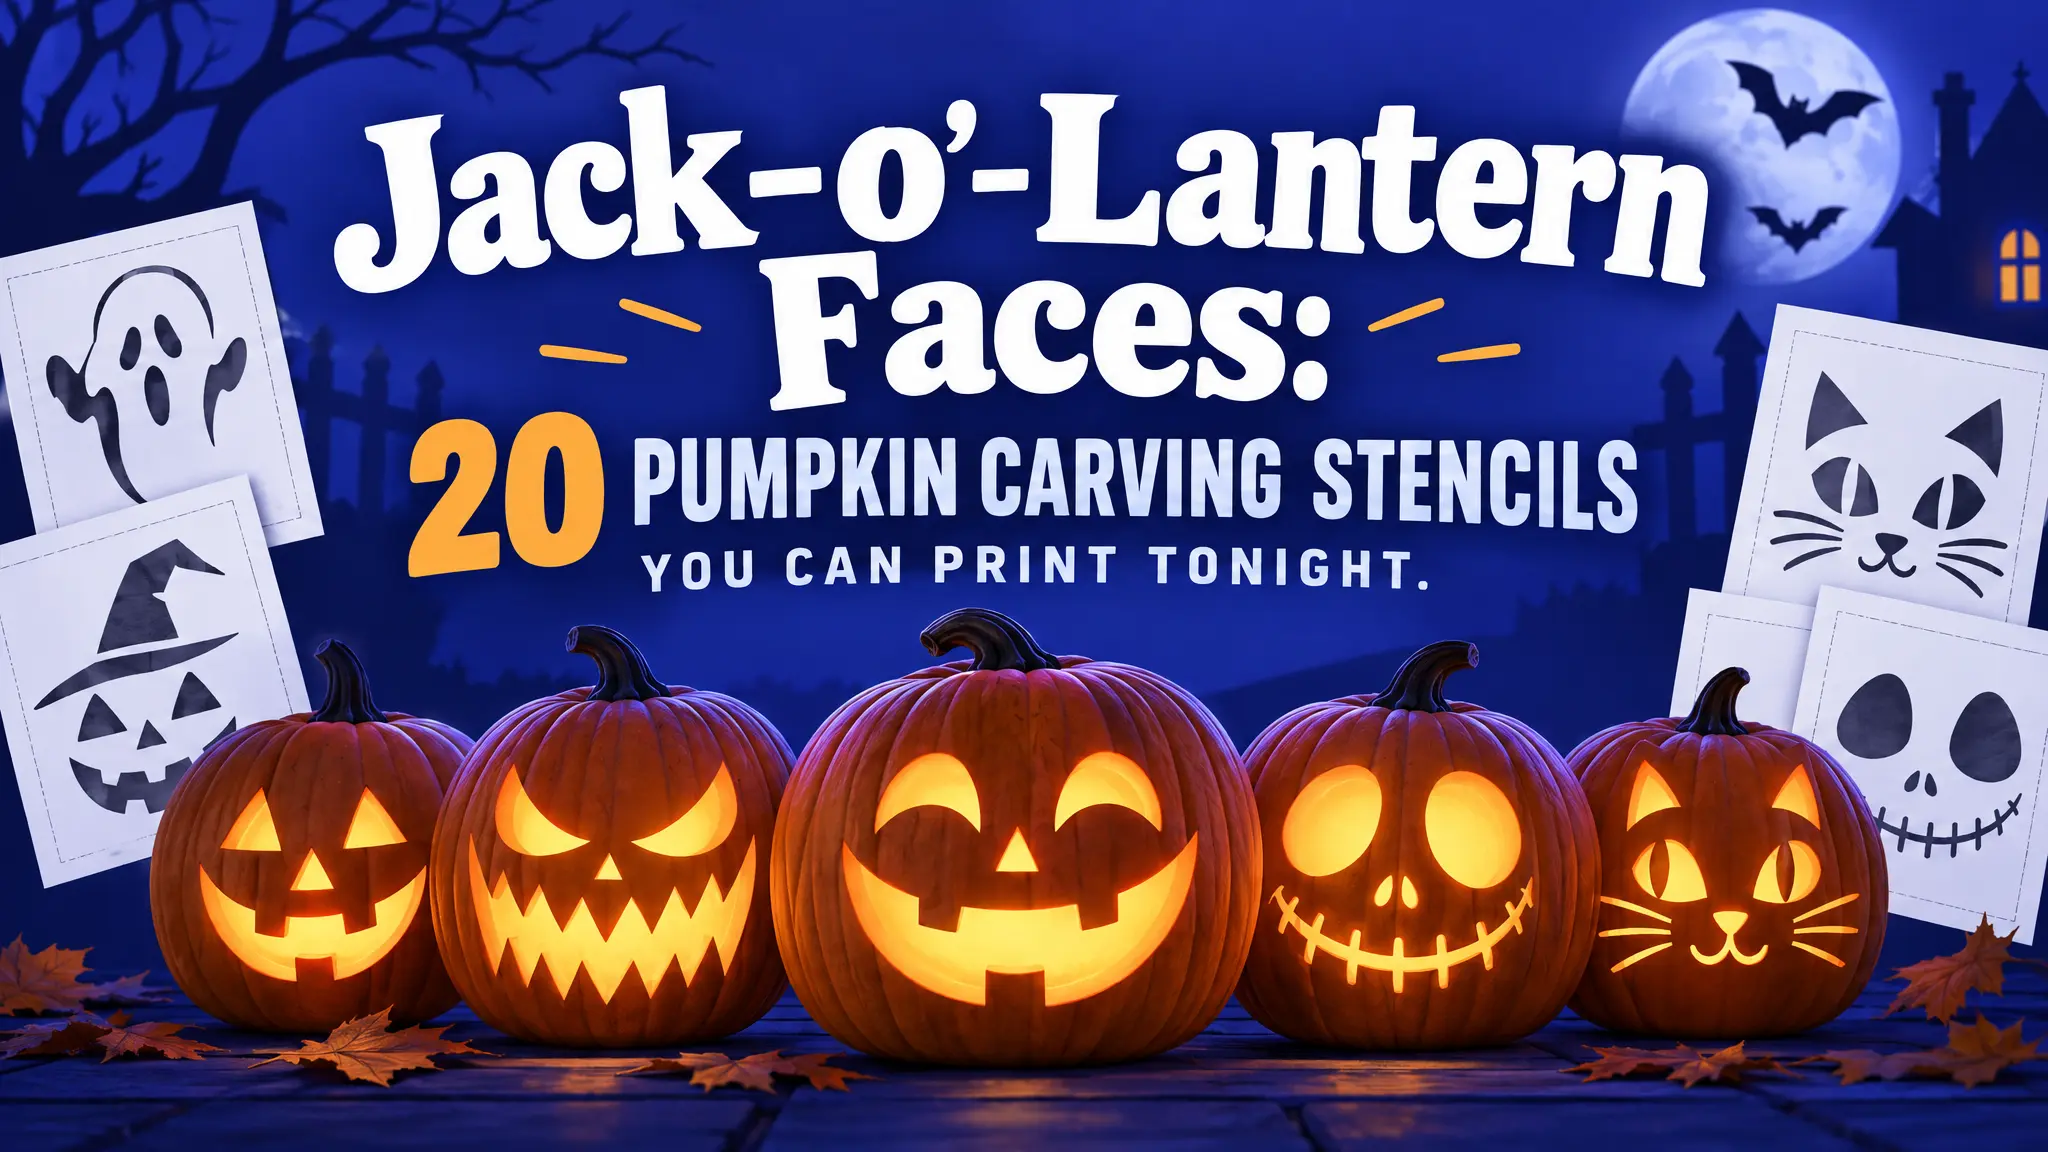
Hey, it’s pumpkin season. If you’ve ever stood over a pumpkin with a kitchen knife and no idea what face to give it, this guide is for you. Good pumpkin carving stencils take the guesswork out of it. You print a face, tape it on, trace it, and carve. No drawing skills needed.
Below you’ll find how to pick the right design, how to print and transfer it, and the carving tricks that make a jack-o’-lantern glow properly instead of collapsing on day two.
Why use pumpkin carving stencils at all?
Freehand carving works fine for a classic triangle-eyes face. Anything more interesting, like a sly grin, a scared face or a cat silhouette, needs a guide. A stencil gives you:
- Clean, balanced shapes. Both eyes come out the same size, which is harder than it sounds on a curved surface.
- Less waste. You know exactly where to cut before the knife goes in.
- A fun family activity. Kids can pick a face and trace it while adults handle the knife.
Our Jack O Lantern Faces collection has more than 60 faces, from goofy to genuinely creepy, and Pumpkin Faces adds another 45. Every design is a bold, filled shape, which is exactly what carving needs.
How to choose a design that’s actually carvable
Not every cute graphic makes a good stencil. Before you print, check three things:
- Big, connected cut-outs. Each black area becomes a hole. Tiny islands of pumpkin between holes will snap off.
- Thick “bridges”. Any strip of pumpkin that holds the face together should be at least 1 cm (about half an inch) wide.
- Simple outline. Designs with fewer than 10 separate cut-outs are ideal for a first pumpkin.
If a design has fine details, like eyebrows or teeth, you can shade those instead of cutting all the way through. More on that below.
What you need
- A pumpkin with a flat, smooth side (taller pumpkins are easier than squat ones)
- Your printed stencil (PNG is perfect for this)
- Clear tape or a few pins
- A pushpin, poking tool or a ballpoint pen
- A small serrated carving saw (the cheap kits work well)
- A large spoon or ice-cream scoop
- A tea light or battery LED candle
Step 1: Print the stencil at the right size
Download the free PNG of your chosen face. Measure the flat side of your pumpkin, then scale the image to fit with about 2–3 cm of margin on every side.
In most print dialogs you can choose “Fit to page” or set a custom scale. For a medium pumpkin, a face about 15–18 cm wide works well. For giant pumpkins, a vector SVG file is the better choice because you can scale it to poster size without any blurry edges. (Not sure why? Our SVG vs PNG guide explains it in two minutes.)
Tip: print on plain printer paper, not card stock. Thin paper bends around the curve of the pumpkin much more easily.
Step 2: Hollow out the pumpkin first
Cut the lid at an angle, pointing the knife toward the center, so the lid sits on a ledge and doesn’t fall in. Some people cut the opening in the bottom instead, so the pumpkin sits right over the candle.
Scoop out the seeds and stringy bits. Then scrape the inside wall where the face will go until it’s about 2–3 cm thick. A thinner wall is much easier to carve and lets more light through.
Step 3: Attach and transfer the stencil
Tape the stencil onto the pumpkin. Cut small slits in the paper edges so it lies flat on the curve.
Now transfer the design. You have two options:
- Poke method: use a pushpin to punch small holes along every line, about 3–5 mm apart. Remove the paper and you’ll see a dotted outline.
- Pressure method: trace the lines hard with a ballpoint pen. It leaves a shallow groove in the skin.
Before you take the paper off, lift one corner to check that you can actually see the transferred lines.
Step 4: Carve from the center out
Start with the smallest, most central pieces and work outward. Big cut-outs weaken the pumpkin, so save them for last.
- Hold the saw like a pencil, at a 90° angle to the surface.
- Use short, gentle sawing strokes. Don’t force it.
- Push each finished piece out from the inside with your finger.
Step 5: Add shading for detail
Remember those fine details like eyebrows? Instead of cutting through, peel away only the orange skin with a small loop tool or a vegetable peeler. The thinner wall glows softly when lit, which gives your face a second level of detail. This trick works great with the more expressive faces in our collections.
Make your jack-o’-lantern last longer
A carved pumpkin usually starts to wilt after 3–5 days. To slow that down:
- Rub petroleum jelly or vegetable oil on all the cut edges.
- Spray the inside with a mix of water and a little lemon juice.
- Keep it somewhere cool and bring it inside on warm days.
- Use an LED candle. A real flame literally cooks the pumpkin from the inside.
Beyond carving: other ways to use the same faces
The same jack-o’-lantern faces work far beyond the pumpkin patch:
- Painted pumpkins for younger kids (trace the face and paint it in black instead of carving)
- Vinyl decals on faux pumpkins you can reuse every year
- Paper lanterns and treat bags with a face cut out of the front
- Party invites and cupcake toppers
For more seasonal ideas, check out our list of 15 ways to use Halloween vector graphics. You’ll also find extra designs in Halloween Pumpkins 01 and Pumpkins And Ghosts 01.
FAQ: pumpkin carving stencils
Can I use a pumpkin carving stencil on a foam pumpkin? Yes. Transfer it the same way, then cut with a craft knife or a small hobby saw. Foam pumpkins last for years, so it’s worth picking your favorite face.
What if my stencil is too small? Rescale it before printing. With an SVG you can enlarge it as much as you need without losing sharpness.
How far in advance should I carve? One to three days before Halloween is the sweet spot. Earlier than that and your pumpkin may start to sag before the big night.
Are these stencils free? Yes. Every design comes as a free PNG for personal use with attribution. If you want the scalable SVG, no attribution and a commercial license, take a look at our Pro plans.
Ready to carve?
Pick a face from Jack O Lantern Faces, print it tonight and get carving. We’d love to see what you make, so tag us or send us a photo. Happy haunting!