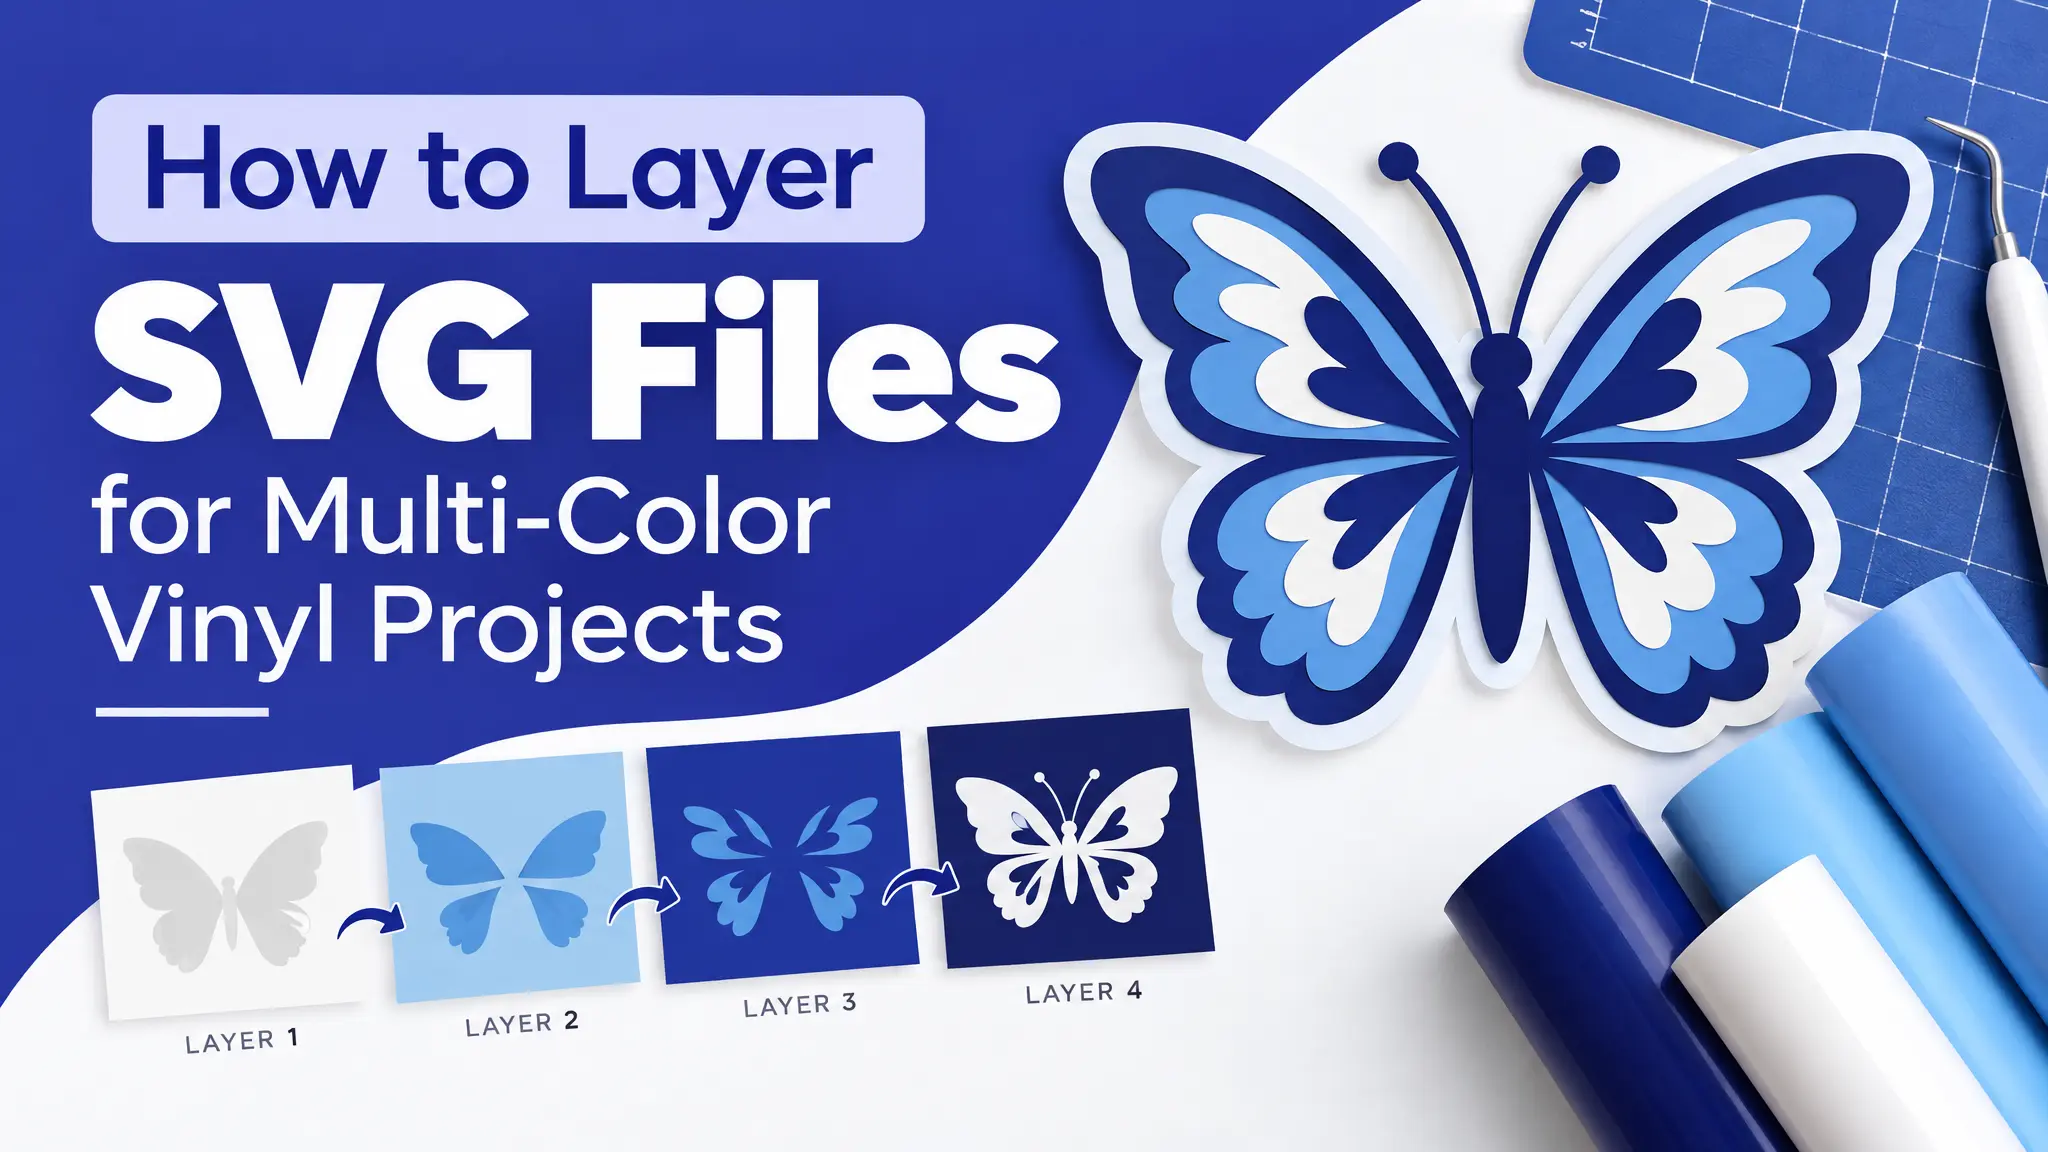
A single-color cut is simple: one pass, one weed, done. A multi-color design is really several single-color cuts stacked on top of each other in the right place. Once you know how to layer SVG files properly, multi-color decals, shirts and signs stop being scary.
Almost every problem people have with layered vinyl comes from skipping one of the steps below, not from the cutting itself. Layering isn’t a cutting problem. It’s a sequencing problem.
What you need
- A cutting machine (Cricut, Silhouette or similar)
- A multi-color SVG file
- Adhesive vinyl or heat transfer vinyl (HTV) in each color
- A weeding tool and transfer tape (for adhesive vinyl)
- A heat press or EasyPress, and a Teflon sheet or parchment paper (for HTV)
- A printed reference of the finished design
New to cutting? Start with our Cricut Design Space beginner guide, then come back here.
Step 1: Identify the actual layers
Open the SVG in Design Space, Silhouette Studio or Illustrator and look at the Layers panel. A two-tone badge, for example, is usually a background shape and a foreground detail saved as two separate paths, even though it looks like one flat image.
- Each color = one layer = one cut.
- If everything shows up as one layer, try Ungroup first.
- If the file still doesn’t separate, it was probably made as a single-layer cut. Not every design is built for layering.
Good designs to practice with: bold, simple illustrations with two or three colors, like Tropical Cocktails 01, Heart Icons or Oldschool Tattoos 01.
Step 2: Decide how the layers will stack
There are two ways to layer vinyl:
- Stacked layering: each color sits on top of a full base layer. It’s easy to align, but thicker, especially on shirts.
- Knockout (or “slice”) layering: the top shapes are cut out of the base layer, so colors sit side by side. It’s thinner and more flexible, but alignment has to be more precise.
For shirts, keep it to 2–3 layers, or use the knockout method to avoid a heavy, stiff design. For decals on hard surfaces, stacking is fine.
Tip: you can change layer colors in Design Space by clicking the swatch in the Layers panel. To change the colors in the file itself, see how to recolor an SVG.
Step 3: Cut back to front
Cut your background layer first (the piece that sits underneath everything else), then work forward. The order matters less for the cutting and more for how you’ll put the pieces together afterward. It’s much easier to lay a smaller top layer onto a base that’s already in place than the other way around.
For HTV: remember to mirror every layer before cutting, and place the vinyl shiny side down on the mat.
Step 4: Print a reference guide for alignment
For anything more complex than two simple shapes, print a full-color reference of the finished design at the exact size you’re cutting and keep it next to your work. Lining up vinyl against a printed guide is much more reliable than trying to remember where each shape goes.
Registration tricks:
- Add a small square or line in the same spot on every layer. Line them up, then cut the marks away at the end.
- Use a ruler or grid to mark the center of your surface.
Step 5: Weed each layer completely before transferring it
Don’t transfer a layer that still has extra vinyl on it “because you’ll get to it later.” Stray bits shift during transfer and end up stuck where you didn’t want them.
- Weed in good light.
- Add a weeding box (a rectangle around the design) to make it easier.
- Keep the tiny inside pieces, like the middle of an “o”, in mind.
Step 6: Use transfer tape to hold shape
When you move a weeded layer (adhesive vinyl) onto your project, the transfer tape’s job is to keep the pieces in the right position. It doesn’t add stickiness.
- Press the tape on gently.
- Burnish well with a scraper.
- Peel the backing slowly, at a low angle.
- If a piece lifts with the tape, burnish that spot again before you continue.
Tip: for layering adhesive vinyl, use a lower-tack transfer tape so it doesn’t pull up the layer underneath.
Step 7: Build up from the base layer
Place your bottom layer first and burnish it down completely before adding the next one. Trying to position all layers loosely at once and then press them together almost always shifts something.
Step 8: Press HTV layers carefully
Iron-on needs a little extra care:
- Pre-press the fabric for a few seconds to remove moisture and wrinkles.
- Tack each layer with a short press (a few seconds), then peel the carrier sheet.
- Cover the design with a Teflon sheet or parchment paper before pressing the next layer, so you don’t melt the layer underneath.
- Do a final full press once all layers are placed, following the vinyl’s instructions.
Check each vinyl’s spec sheet. Some HTV colors, especially glitter and foil finishes, need different temperatures or times. This is the most common reason one layer of a finished shirt starts peeling on day one.
Important: you can usually put other HTV on top of regular HTV, but most brands say not to layer anything on top of glitter HTV, because it won’t stick well. Make glitter your top layer.
Troubleshooting
- Layers don’t line up: use registration marks and a printed guide.
- Top layer peeling: check the press temperature and time, and whether the layer beneath is glitter or a special finish.
- Design feels too thick on a shirt: switch to knockout layering or reduce the number of layers.
- Pieces cutting wrong: see SVG Not Cutting Right? 7 Cricut & Silhouette Fixes.
Project ideas for layered vinyl
- Two-color snowflake window decals. See our snowflake Cricut projects.
- Multi-color club shirts. Get ideas in club merch ideas.
- Tattoo-style tote bags with Flash Tattoos 01
- Cocktail bottle labels with Tropical Cocktails 02
FAQ: layer SVG files
How many layers can I put on a shirt? Two or three is best for comfort and durability. More than that gets stiff unless you use the knockout method.
Can I layer a PNG? Not really. Cutting machines need separate vector paths for each color, which only an SVG provides.
Do I need an SVG for every color? No. One SVG usually contains all the color layers. Your cutting software separates them.
Can I sell layered vinyl products made with your designs? Yes, with a Pro plan. Read our licensing guide for details.
Take it one layer at a time
Layered projects take longer than single-color ones, but they’re not harder to learn. Follow the order, weed carefully and press patiently. Pick a two-color design from our collections and try your first layered project today.