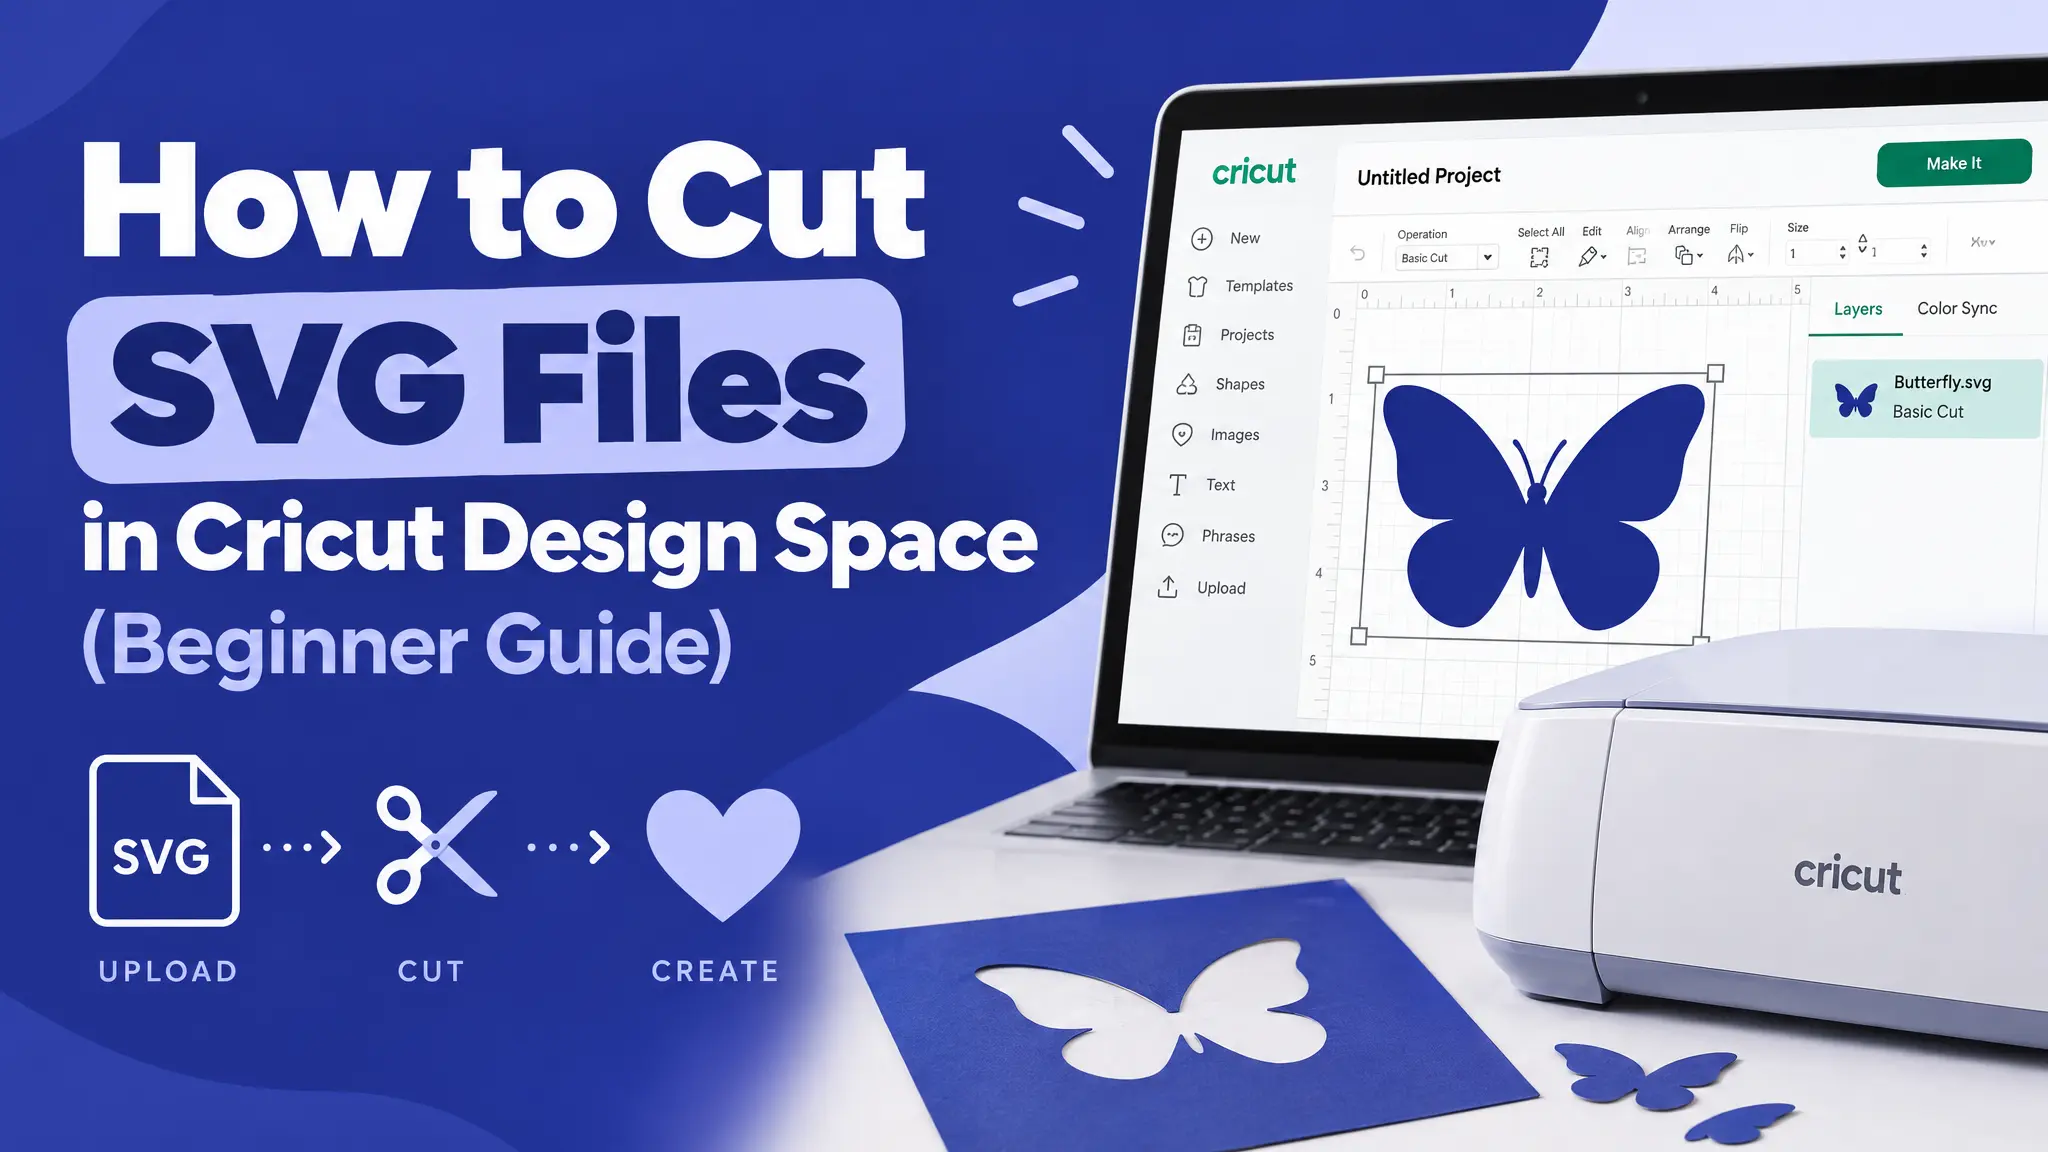
You just downloaded your first SVG, opened Cricut Design Space, and now you’re not sure what to do next. This is the guide to bookmark. Learning to cut SVG files in Cricut isn’t hard once you’ve done it twice. The first time is just full of small, unlabeled decisions that nobody explains.
Below you’ll find every step, from upload to the finished cut, plus the beginner mistakes that ruin a first project and how to avoid them.
What you need
- A Cricut machine (Joy, Explore or Maker series)
- Cricut Design Space installed on your computer, or the app on your phone or tablet
- An SVG file
- The right mat for your material (LightGrip for paper, StandardGrip for vinyl and card stock)
- Your material: vinyl, iron-on (HTV) or card stock
- A weeding tool
Why SVG and not PNG? An SVG already contains clean cut lines. A PNG has to be traced by Design Space, and fine details often get lost. Here’s the full explanation: SVG vs PNG: What’s the Difference?
Step 1: Upload the file the right way
- Open Design Space and click New Project.
- Click Upload in the left menu, then Upload Image.
- Click Browse and select your .svg file directly.
- Click Upload, then select the image and click Add to Canvas.
Don’t screenshot the design or save it as a JPG first. That turns clean vector lines into a blurry image that Cricut has to trace.
Step 2: Check the Layers panel before you do anything else
Some SVGs are a single shape. Others, especially multi-color designs, come in as several stacked layers.
- Look at the Layers panel on the right.
- Click the small arrow next to the group to expand it.
- If you only want one part, like the black outline, hide or delete the other layers now, before resizing.
- To change which color a layer cuts on, click its color swatch.
Working with several colors? Read our guide on how to layer SVG files for multi-color vinyl.
Step 3: Resize with the aspect ratio locked
Make sure the padlock icon between the width and height fields is locked before you drag a corner handle. This keeps circles round and text in proportion.
A common beginner mistake is resizing freely, which quietly stretches the design. Nobody notices until it’s cut.
Size tip: tiny details need space. If your design has small text or thin lines, don’t make it too small, or those parts won’t cut cleanly.
Step 4: Make sure it’s set to cut
Check the Operation setting for each layer in the top toolbar. It should say Basic Cut for vinyl and iron-on. If it says “Print Then Cut” or “Draw,” the machine will do something different from what you expect.
If a design is made of several pieces that should stay together, select them and click Attach. Otherwise Design Space may rearrange them on the mat.
Step 5: Click Make and check the mat preview
- Click Make (top right).
- Choose how you’re loading the material (on a mat or, on some machines, matless).
- Check the mat preview. You can drag the design to a different spot on the mat to save material.
Step 6: Mirror your image for iron-on
If you’re cutting heat transfer vinyl (HTV), you must mirror the design. Turn on Mirror for that mat in the preview screen. Iron-on is applied face down, so an unmirrored design comes out backwards on your shirt.
- Iron-on (HTV): mirror ON, shiny side DOWN on the mat
- Adhesive vinyl: mirror OFF, color side UP on the mat
Design Space usually warns you when you choose an iron-on material. Read that pop-up instead of closing it.
Step 7: Match the material setting to what’s actually on your mat
“Vinyl” and “Iron-On” have different blade depth and pressure. Using the wrong one is the most common reason a cut either doesn’t go all the way through or cuts too deep into the backing.
- Choose your material from the list, or use Browse All Materials to search.
- Check it against the roll in your hand, not your memory of what you cut last time.
- If a cut is too light, choose More pressure. If it cuts into the backing, choose Less.
Step 8: Do a test cut on scrap first
Before you use your good sheet, cut a small piece of the same design on scrap material. If small inside cuts, like the eyes on an animal silhouette, don’t cut cleanly, raise the pressure a little instead of re-cutting the whole thing with the same setting.
Step 9: Load, cut and weed
- Put your material on the mat and smooth it down.
- Load the mat into the machine and press the flashing Go button.
- When the cut is done, unload the mat.
- Weed: peel away the vinyl you don’t need, using your weeding tool for small pieces.
- Apply your design with transfer tape (adhesive vinyl) or a heat press (iron-on).
Common beginner mistakes (and quick fixes)
- Design came out backwards on a shirt: you forgot to mirror.
- Cut didn’t go through: wrong material setting, dull blade or not enough pressure.
- Design cut as one blob: layers were grouped or welded, or you uploaded a PNG.
- Material moved during cutting: the mat has lost its stickiness.
For more fixes, see SVG Not Cutting Right? 7 Cricut & Silhouette Fixes.
Easy first projects to practice with
Start with bold, simple shapes. They’re easy to cut and weed:
- A snowflake window cling from Snowflakes Set 01. See our snowflake Cricut projects.
- A laptop decal from Santa Silhouette 01 or Cowgirl Silhouette 01
- A mug decal from Heart Icons
- A tote bag with a butterfly from Tribal Butterflies 01
FAQ: cut SVG files in Cricut
Do I need Cricut Access to upload my own SVGs? No. Uploading and cutting your own SVG files is free in Design Space.
Can I edit an SVG in Design Space? You can resize it, change layer colors, hide layers, weld, slice and attach. For bigger changes, edit it in Inkscape, Affinity or Illustrator first.
Why is my SVG uploading as one layer? Some designs are built as one shape. Try Ungroup. If it’s still one layer, it was made for a single-color cut.
Can I sell what I make with your SVGs? Yes, with a Pro plan, which includes a commercial license. You can’t sell or share the SVG files themselves. See our licensing guide.
Practice makes it easy
After three or four projects, this checklist becomes muscle memory. The fastest way to get there is to practice on a few simple SVGs before cutting anything you care about. Browse our collections and pick a design to start with.