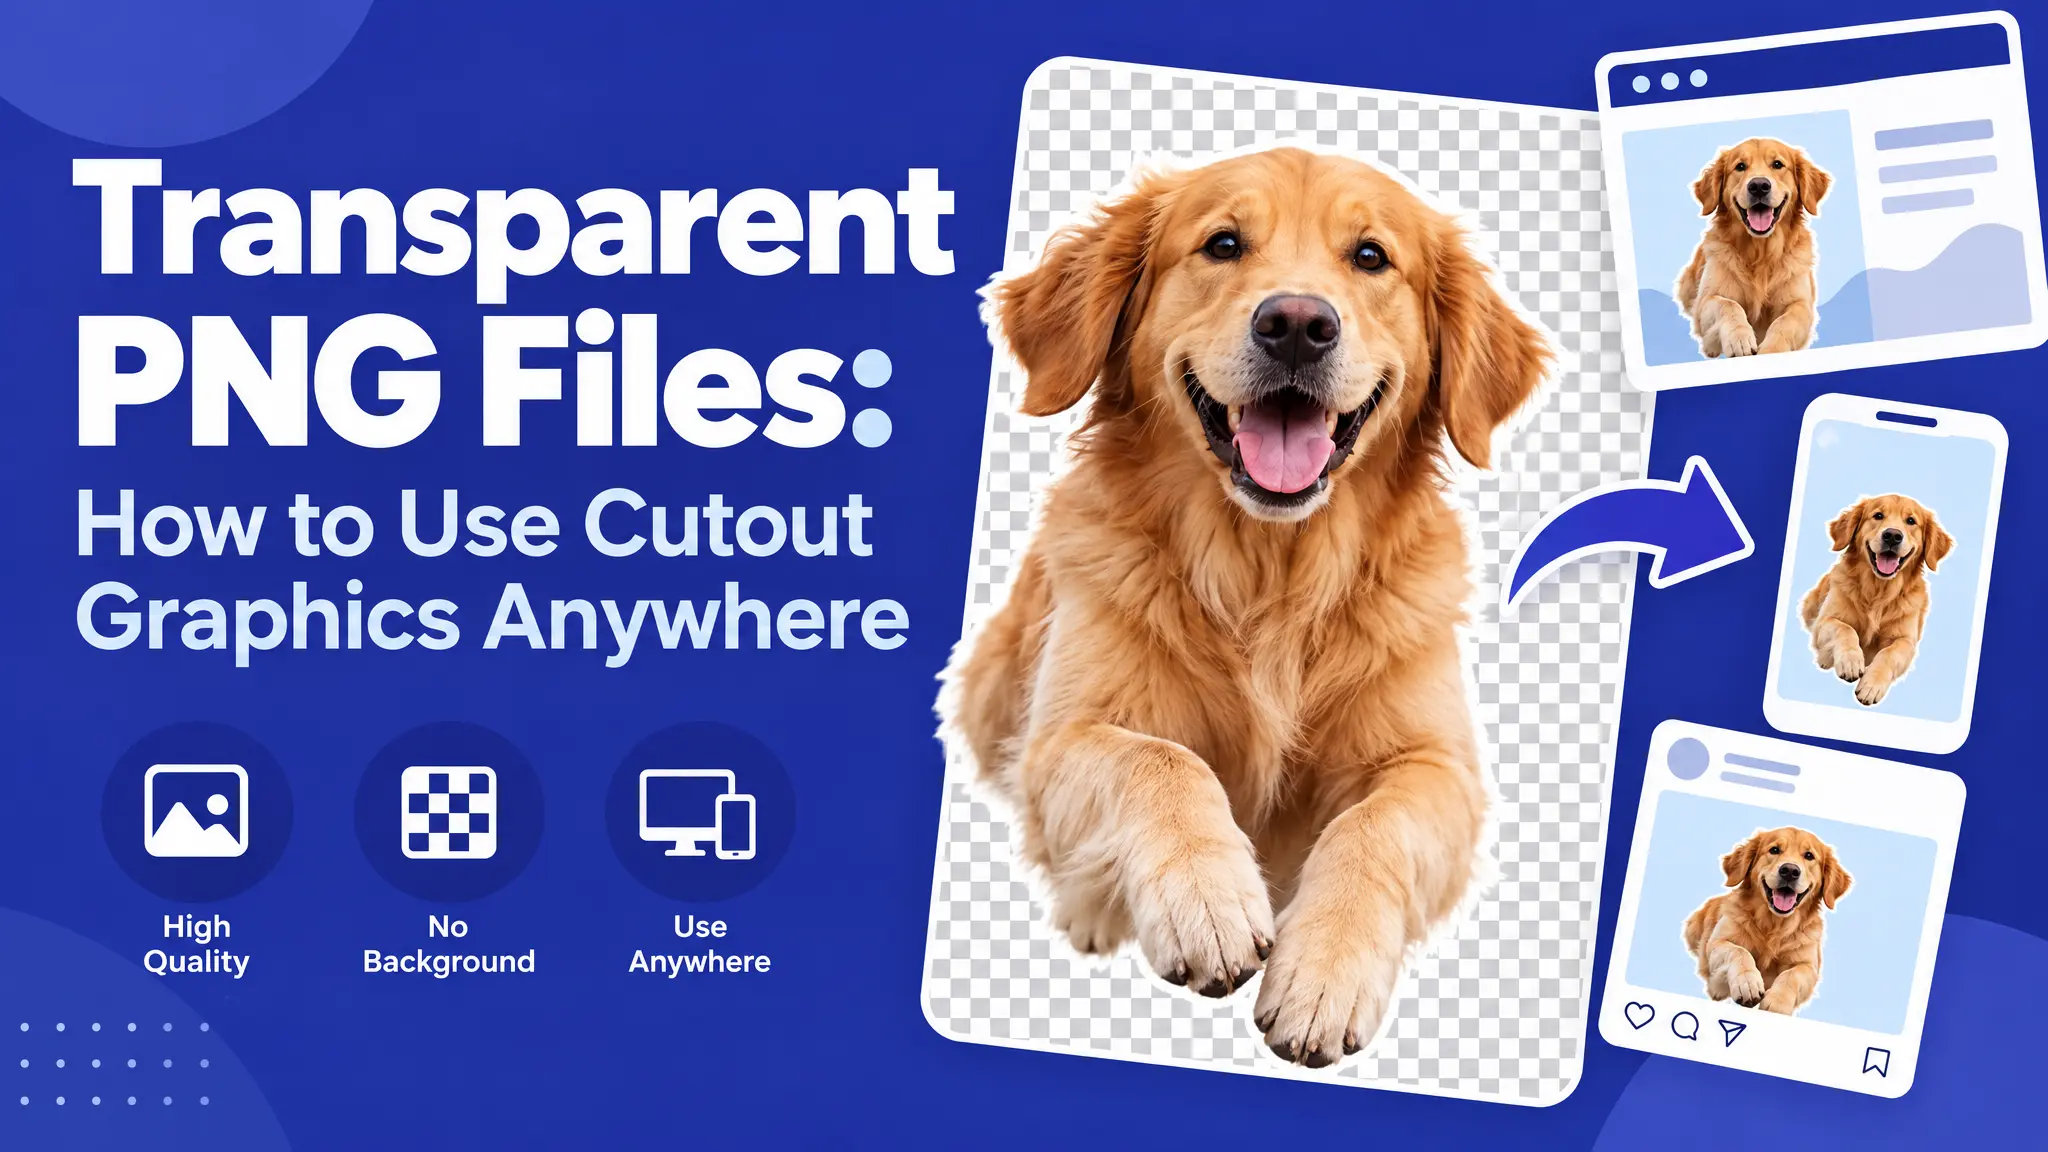
You add a graphic to your design, and instead of sitting nicely on your background, it shows up inside an ugly white box. Sound familiar? The fix is a transparent PNG. This guide explains what transparency is, how to use cutout graphics in the most popular apps, and how to avoid losing the transparency by accident.
What is a transparent PNG?
A transparent PNG is an image file where the areas around your graphic aren’t filled with any color. They’re see-through. Whatever is behind the image, like a colored background, a photo or another layer, shows through instead of a white rectangle.
It’s the difference between a sticker and a photo of a sticker lying on a white table.
How it works: PNG files can store an extra “alpha channel,” which records how see-through each pixel is. JPG files can’t do this at all. That’s why a JPG always has a solid background.
Transparent PNG vs JPG vs SVG
- JPG: no transparency. Great for photos, bad for cutout graphics.
- Transparent PNG: supports transparency. Great for graphics at a fixed size, like social posts, slides and printables.
- SVG: a vector format that also supports transparency and scales to any size without getting blurry. Best for cutting machines, large prints and recoloring.
More detail here: SVG vs PNG: What’s the Difference?
The catch: transparency only shows in apps that support it
Transparency only displays correctly in apps that render it. If you open a transparent PNG in an app that flattens images, or you save it as a JPG by mistake, you’ll get a permanent white background.
Below is how to use transparent PNGs in the most common tools.
How to use a transparent PNG in Canva
- Go to Uploads → Upload files and choose your PNG.
- Drag it onto your design.
- Canva keeps the transparency automatically. Your background color or photo shows around the edges of the graphic.
Seeing a white box? Check that you uploaded the .png file, not a .jpg version of the same design.
When downloading from Canva: choose PNG and tick Transparent background (a Canva Pro feature) if you want to keep the transparency in the file you export.
How to use a transparent PNG in Photoshop
- Open the PNG, or drag it into an existing document as a new layer.
- Look at the Layers panel. A gray-and-white checkerboard behind the graphic means those areas are transparent. The checkerboard is only Photoshop’s way of showing it. It’s not in your file.
- If you see a white layer thumbnail instead, the transparency was lost earlier (often after a “Flatten Image” step). Download the original file again.
When saving: use File → Export → Export As → PNG with “Transparency” checked. Don’t save as JPG.
How to use a transparent PNG in Procreate
- Tap Actions (wrench) → Add → Insert a file or Insert a photo.
- Procreate keeps the transparency on import as long as the file is a real PNG.
- Place and resize the graphic on its own layer.
When exporting: if you export a JPG to share, that copy loses its transparency. Export as PNG if you want to keep working with it elsewhere.
How to use a transparent PNG in PowerPoint, Keynote and Google Slides
All three handle transparent PNGs correctly when you insert them. That makes them the easiest way to put a clean graphic on a colored title slide without a visible box.
- PowerPoint: Insert → Pictures → This Device
- Google Slides: Insert → Image → Upload from computer
- Keynote: drag the file onto the slide
How to use a transparent PNG in Word and Google Docs
- In Word, insert the image, then set Wrap Text to “In Front of Text” or “Behind Text” to place it freely on the page.
- In Google Docs, insert the image and choose “In front of text” or “Behind text” from the image options.
How to use a transparent PNG on social media and websites
- Instagram and Facebook fill transparent areas with a background, so place your PNG on a background in Canva or another app first.
- WordPress and most website builders keep the transparency, so your graphic sits on the page’s background color.
- Stickers in Stories: on some phones you can copy a transparent PNG and paste it into an Instagram Story as a sticker.
Quick test: is my PNG really transparent?
Open it in your phone’s photo viewer on a dark background, or drag it into a new browser tab and switch your browser to dark mode. If you see a hard white rectangle around the artwork, the file isn’t transparent.
Download the right version instead of trying to erase the white in an editor. That almost always leaves a faint white halo around the edges.
Creative ways to use transparent PNGs
- Printables: invitations, labels and tags on colored paper or backgrounds. See our Halloween party printables and Thanksgiving table printables.
- Photo overlays: add hearts, stars or doodles on top of your photos. Try Heart Icons or Simple Stars Collection.
- Social media templates: frames and accents for a consistent look. See club merch ideas for examples.
- Print-on-demand products: most POD platforms ask for transparent PNGs. Read Sublimation vs HTV vs Print-on-Demand.
- Sticker sheets and planners: use doodles from Quick Marker Sketches.
- Temporary tattoos: see our guide to printing temporary tattoos at home.
FAQ: transparent PNG
Are all PNG files transparent? No. PNG can store transparency, but many PNGs still have a solid background. Always test the file.
Can I print a transparent PNG? Yes. The transparent areas simply print as the color of your paper. Printers don’t print white.
Can I make a transparent PNG bigger? Only a little. Scaling a PNG far beyond its original size makes it blurry. Use the SVG for large prints.
Are your free downloads transparent PNGs? Yes. Our free downloads are high-resolution PNGs with a transparent background, ready to drop onto any design. Pro members also get the scalable SVG.
Drop it anywhere
Once you know how transparency works, cutout graphics fit into any project: slides, shirts, invitations and more. Browse our collections and download a free transparent PNG to try it.