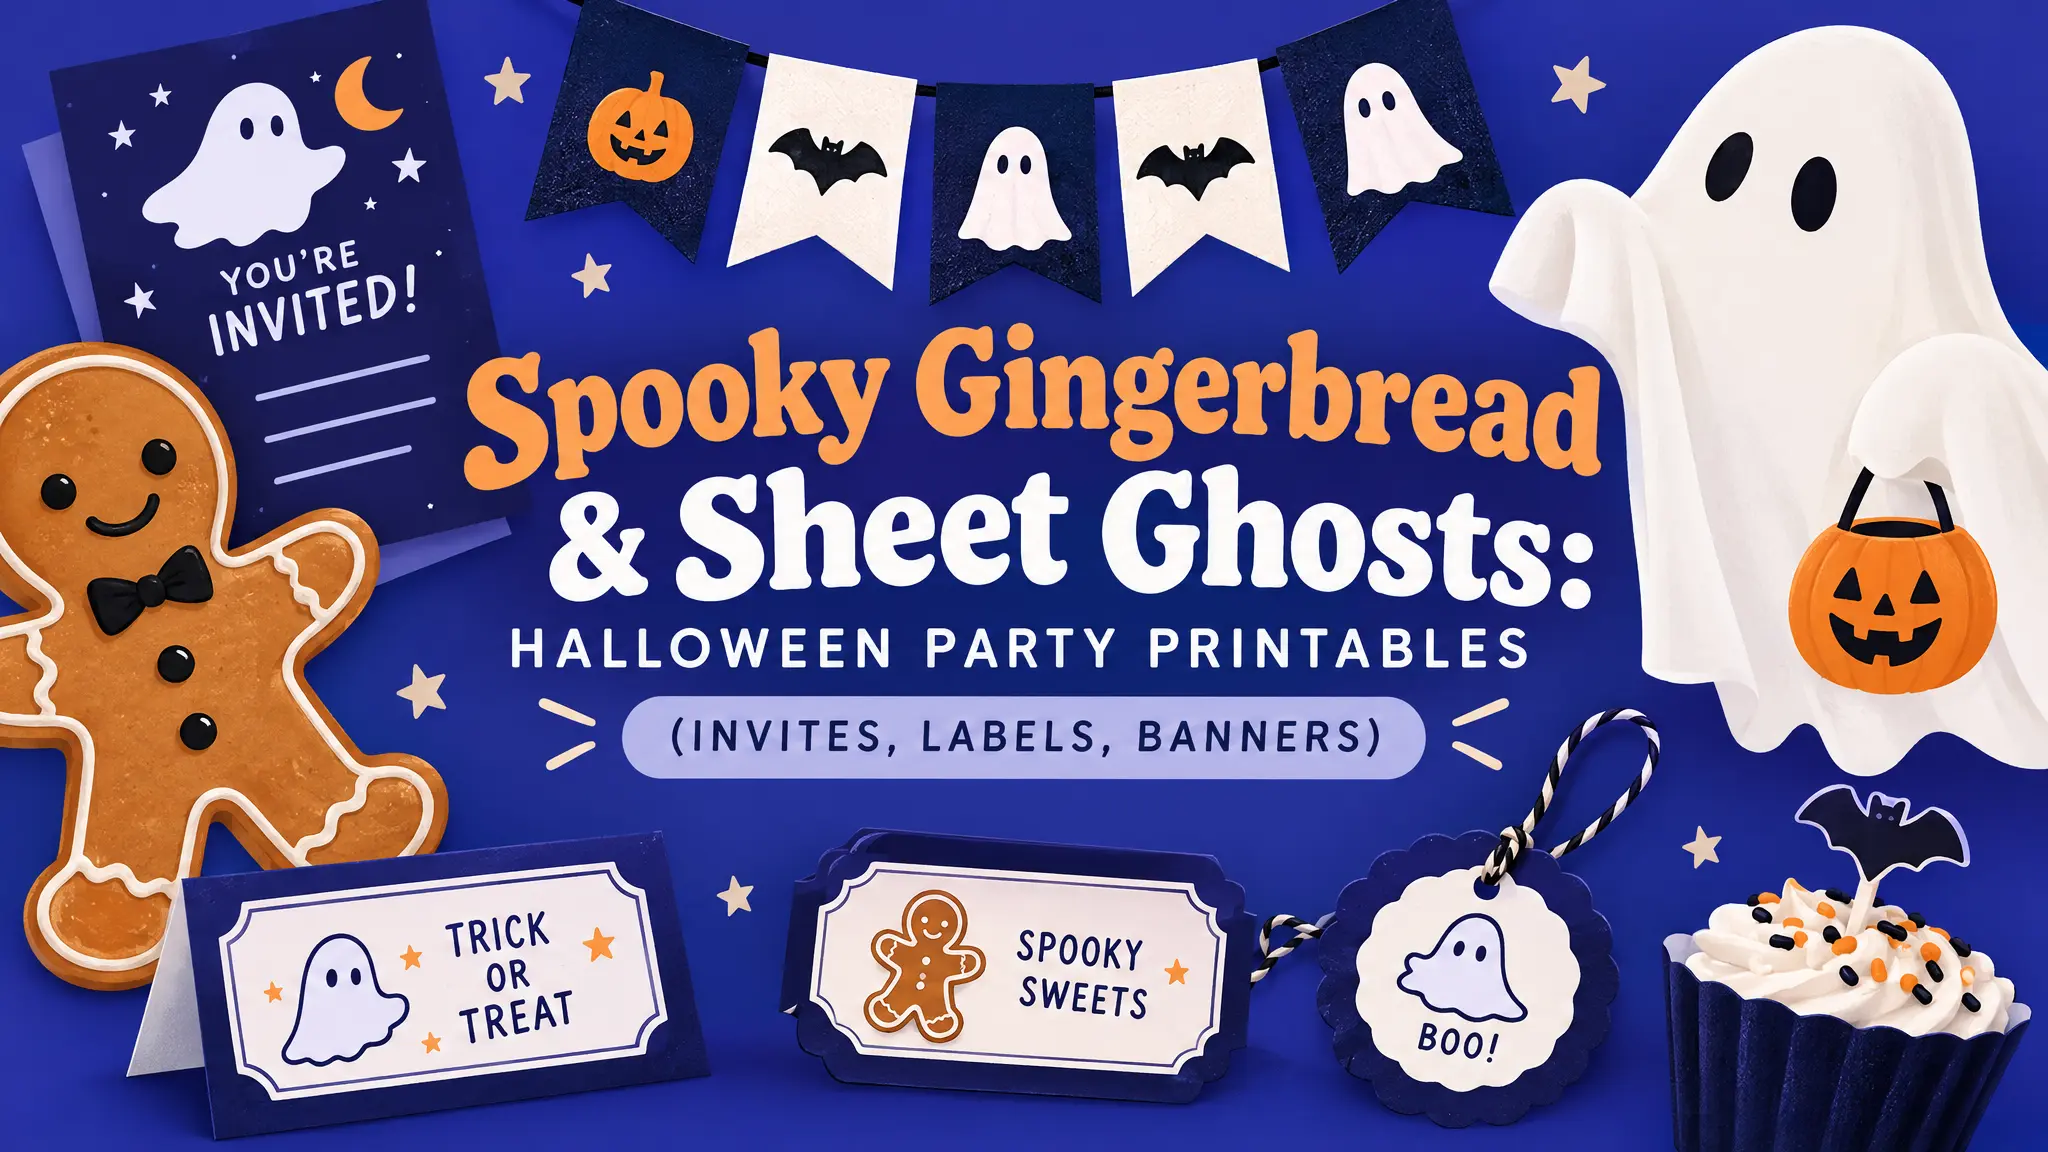
Throwing a Halloween party doesn’t mean buying a whole aisle of plastic decorations. With a home printer, some card stock and a handful of themed graphics, you can make Halloween party printables that look coordinated, custom and way more personal than anything from the store.
This guide walks you through a full party kit: invitations, a banner, food labels, cupcake toppers and favor tags. It’s all built from two of our favorite spooky-cute collections, Sheet Ghosts and Spooky Gingerbread 01.
Why DIY Halloween party printables work so well
- They match. When every piece uses the same style of graphic, your table, walls and treat bags look planned, even if you made them the night before.
- They’re cheap. A pack of card stock and some ink costs less than one store-bought party set.
- You can personalize them. Add names, the party date or a silly house rule (“costumes mandatory!”).
Pick a theme first
Choose one mood and stick with it. Two combinations that work great:
Cute and cozy: friendly Sheet Ghosts, soft oranges and creams, rounded fonts. Perfect for a kids’ party or a relaxed evening with friends.
Spooky bakery: Spooky Gingerbread characters, dark brown and black with orange accents. Great for a baking party or a dessert-table theme.
Want more variety? The Spooky Season Kit and Halloween Cartoons 01 mix well with both.
What you need
- Free graphics (PNG) or scalable SVG files
- A free design tool like Canva, or Inkscape or Affinity Designer if you prefer
- White card stock (200–250 gsm) for invites and tags, plain paper for the banner
- Scissors or a paper trimmer, a hole punch, twine or ribbon
- Toothpicks or lollipop sticks for cupcake toppers
- Optional: a Cricut or Silhouette for cutting out shapes
1. Halloween party invitations
Start with a 5×7 inch (A6 also works) canvas.
- Place one large ghost or gingerbread character on one side.
- Add the party details: date, time, address and a dress code.
- Keep the text to two fonts at most: one fun display font and one readable one.
- Print two invitations per A4 or Letter page and cut them out.
Tip: for digital invites, export the same design as a PNG and send it through WhatsApp, Messenger or email. The transparent background of our PNGs means the character sits cleanly on any color you choose. See our guide to transparent PNG files if you’re new to them.
2. A “Boo!” or “Happy Halloween” banner
Banners fill empty wall space instantly.
- Create a pennant shape (a triangle or a flag with a notch cut at the bottom) about 15 cm wide.
- Put one letter on each flag, alternating with a ghost or gingerbread character.
- Print, cut out, punch two holes at the top of each flag and thread them onto twine.
Three to four flags per page keeps the ink use low. Plain paper is fine here because banners don’t need to be sturdy.
3. Food labels and tent cards
A buffet looks much more polished with labels. Fold a piece of card stock into a small tent (about 10×5 cm when folded). Then add a small character and a punny food name:
- “Ghost Bites” (marshmallows or meringues)
- “Gingerbread Graveyard” (cookies)
- “Witch’s Brew” (punch)
- “Mummy Dogs” (sausage rolls)
4. Cupcake toppers
Print characters about 4–5 cm tall on card stock, cut around the outline (leave a thin white border if cutting by hand), and tape each one to a toothpick. If you have a cutting machine, use the “Print Then Cut” feature to get perfect outlines in minutes. Our Cricut Design Space guide covers the basics.
5. Favor tags and treat bags
Send your guests home with candy in kraft paper bags. Print small square tags (5×5 cm) with a ghost and a “Thanks for haunting with us!” message. Punch a hole and tie them onto the bag with ribbon. You could also print the character straight onto the bag if your printer handles kraft paper.
6. Bonus: a kids’ activity sheet
Keep younger guests busy with a simple coloring page: an outline of a ghost or gingerbread house, a “spot 5 spiders” challenge and a maze. The Coloring Pages section and Spiders And Spiders Web are great starting points.
Printing tips for a better result
- Print a test page on plain paper first to check sizes before using card stock.
- Pick the “High quality” setting for anything guests will hold, like invites and tags.
- Use the SVG version for large prints such as posters or door signs. Vectors stay sharp at any size.
- Leave a white border of 3–5 mm when cutting by hand. It hides small wobbles.
FAQ: Halloween party printables
Can I sell Halloween party printables I make with your graphics? Commercial use is covered by our Pro license, with a few limits. For example, you can’t resell the graphics themselves as standalone files. Read the full details in our Terms of Use.
What’s the best paper for printables? A matte card stock around 200–250 gsm works in most home inkjet printers and feels sturdy. Check your printer’s maximum paper weight first.
Do I need design software? No. A free Canva account is enough for everything in this guide.
Your party, your style
Mix and match, keep it simple, and most importantly have fun with it. Browse Sheet Ghosts and Spooky Gingerbread to find your characters, and your whole party kit can be ready in an evening.